The topic I wish 3D-printing guides would stop skipping this important step is currently the subject of lively discussion — readers and analysts are keeping a close eye on developments.
This is taking place in a dynamic environment: companies’ decisions and competitors’ reactions can quickly change the picture.
Far too often, I see 3D printing guides skip one of the most important steps of all—prototyping. Making prototype prints is absolutely crucial to getting a quality end product. Just about every time I skip prototyping, I regret it. So, here’s why you should value and pay attention to prototyping way more than 3D printing guides normally let on.
In almost every 3D printing YouTube video I’ve watched, prototyping is shown as either non-existent or a fleeting thing that takes hardly any time. The problem is, this is the most important part of 3D modeling and printing that takes far more effort than is typically shown.
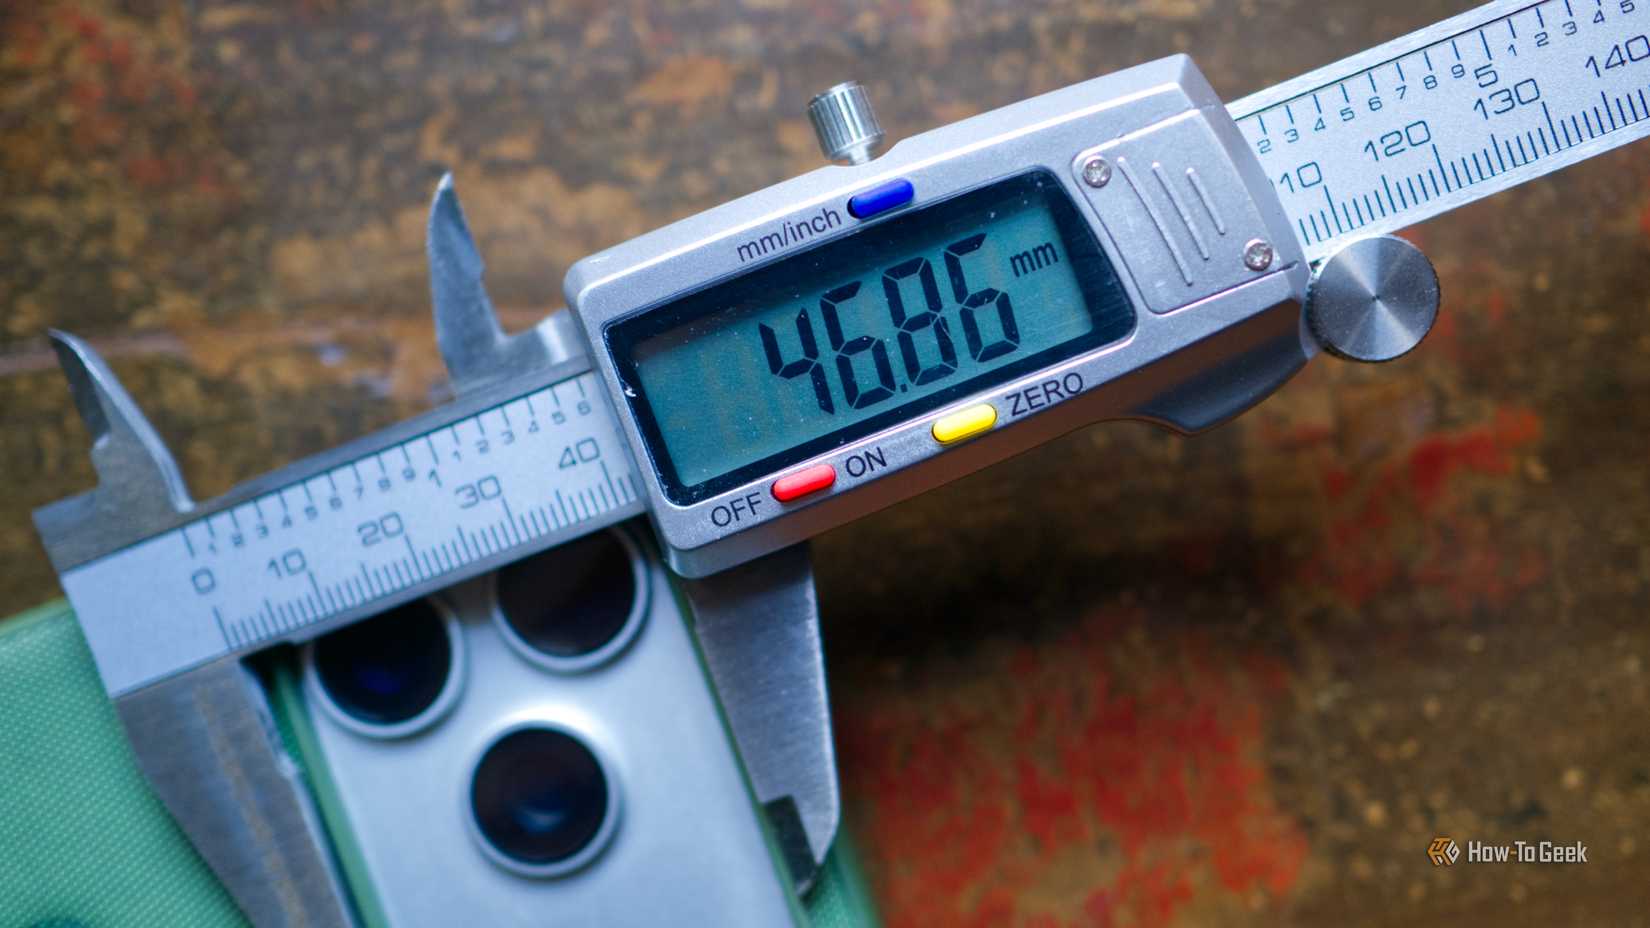
I’ve seen countless videos of people making custom Gridfinity boxes for their drawers. Often, they show the measuring of the item, a few seconds of CAD, and then the final print being done. I can almost guarantee you that’s not how it went. Even with tools like ToolTrace.ai, the first print is never great.
Prototyping is arguably the most important step of 3D printing, and everyone just glosses over it for some reason. So, I’m going to dive deeper into prototyping to show you why it’s so important and how I personally prototype whenever I’m printing a custom 3D model that I’m designing.
I have made this mistake more than a few times—printing the entire model on the first go. When I first started doing my own 3D CAD models, I had a very slow Ender 3 V2-style printer. One of the first things I designed was this RYOBI 18V ONE+ battery holder. The mistake I made during design was printing the entire holder for each iteration at first, which took about 45 to 60 minutes per print depending on the settings I used.
This wasted so much time and filament. Eventually, I found ways to rapidly prototype the design, and I saved tons of time and filament doing that. To do this, you very rarely print the entire model. Instead, you print slices of that model to test specific parts.
For the battery holder, I printed a section about 10 layers tall that tested the fit around the battery’s neck. This took several iterations before it was a good fit, and then I extended it further to make sure the battery fit properly. Eventually, I printed the entire holder, and it fit great—unlike the first print.
The same has been true for all of the other things I have 3D designed from the ground up. Unless it was a super simple model that already took hardly any time or filament to print, I’ve stuck to the same way of prototyping.
The prototyping that I just described is not a short experience most of the time. Instead, it often can take many, many iterations and many, many hours, or even days. Prototyping is the biggest time sink in 3D printing, and you definitely should be aware of that.
The Bambu Labs P2S 3D printer is ready to go out of the box and can have you printing within 15 minutes. It features up to 20-color printing with the AMS unit, has an upgraded built-in camera for remote monitoring and time lapses, and has an enclosed body for printing even high-temperature filament.
Prototyping, by nature, feels like a “waste” of filament. You’re printing non-functional prints that are simply going to get thrown away, so it’s a waste, right? Wrong. When you do rapid prototyping properly, you’ll actually waste less filament at the end of the day.
I’ve gone in-depth on how exactly I do my rapid prototyping now, with what infill and other settings I use. I’ve effectively minimized the amount of filament required for me to rapid prototype, and that’s been the biggest change for me.
Now, I can prototype a new design without worrying that I’m throwing a ton of money away, and it allows me to do the final print with confidence. It’s actually quite surprising how well a 3D printed part can fit when you take the time to properly dial in the design.
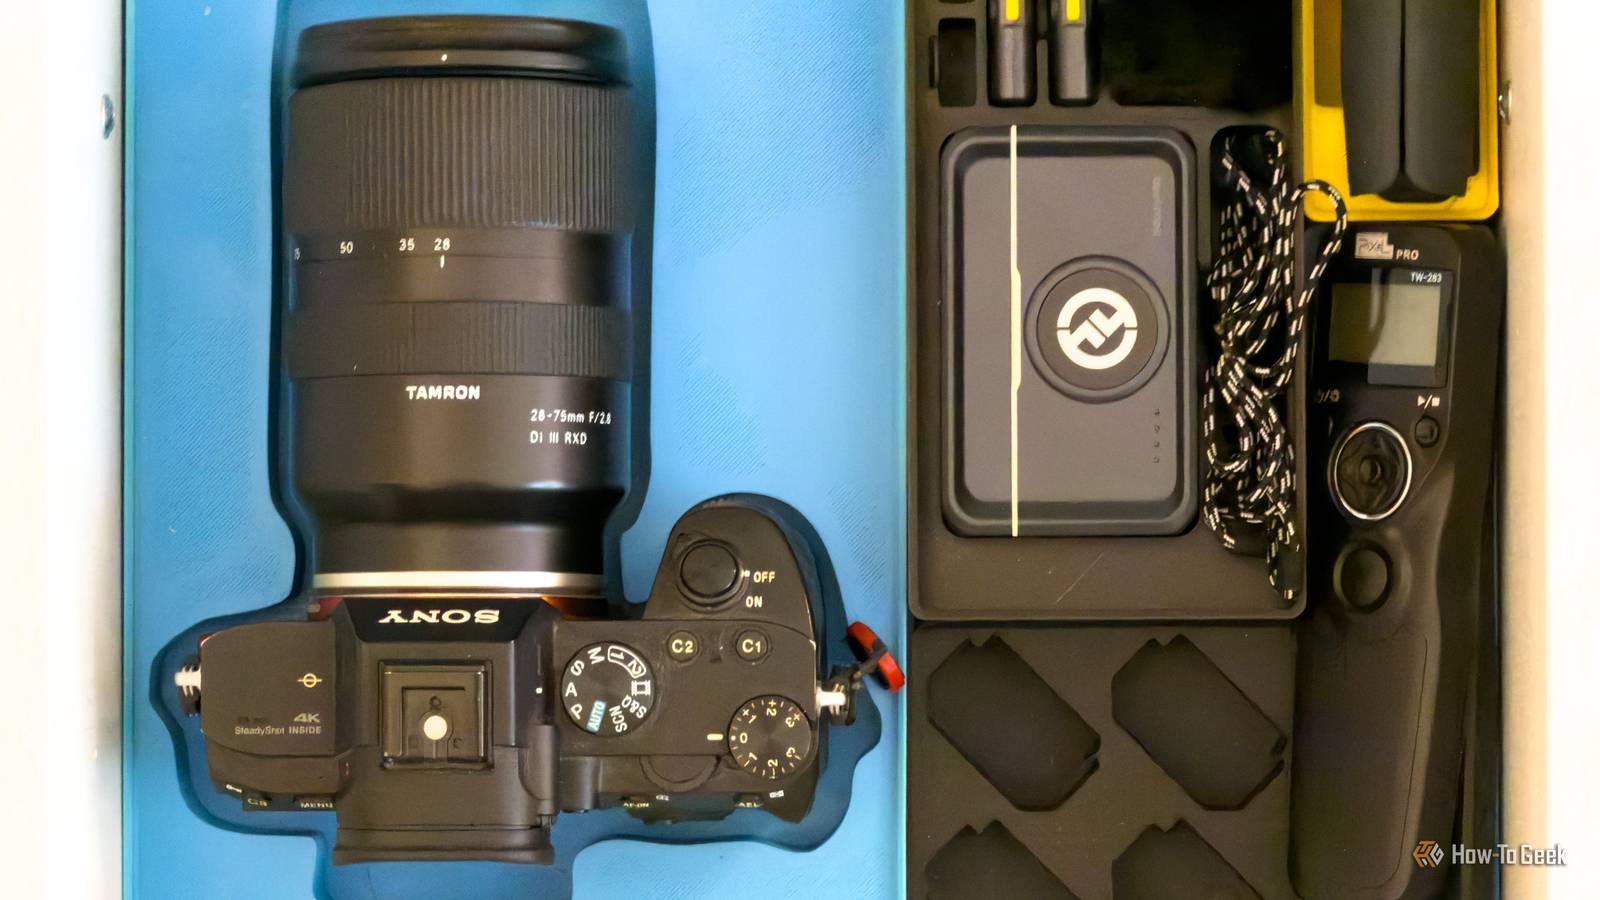
There’s one instance where I didn’t prototype first, and I ended up wasting a ton of time and filament, and now simply live with an ill-fitting part. I was using ToolTrace.ai to make a Gridfinity holder for my Sony A7iii DSLR. I made what looked like a great-fitting design in CAD, and then simply printed it. When it printed out, it was way oversized and didn’t fit the camera well at all.
The problem is, this print took a few hundred grams of filament and several hours to print, so I really don’t want to re-print it. I probably will at some point, and I’ll make sure to do proper prototyping before I do the final print next time. But, until then, I’m just living with an oversized print that I wish I would have dialed in to start with.
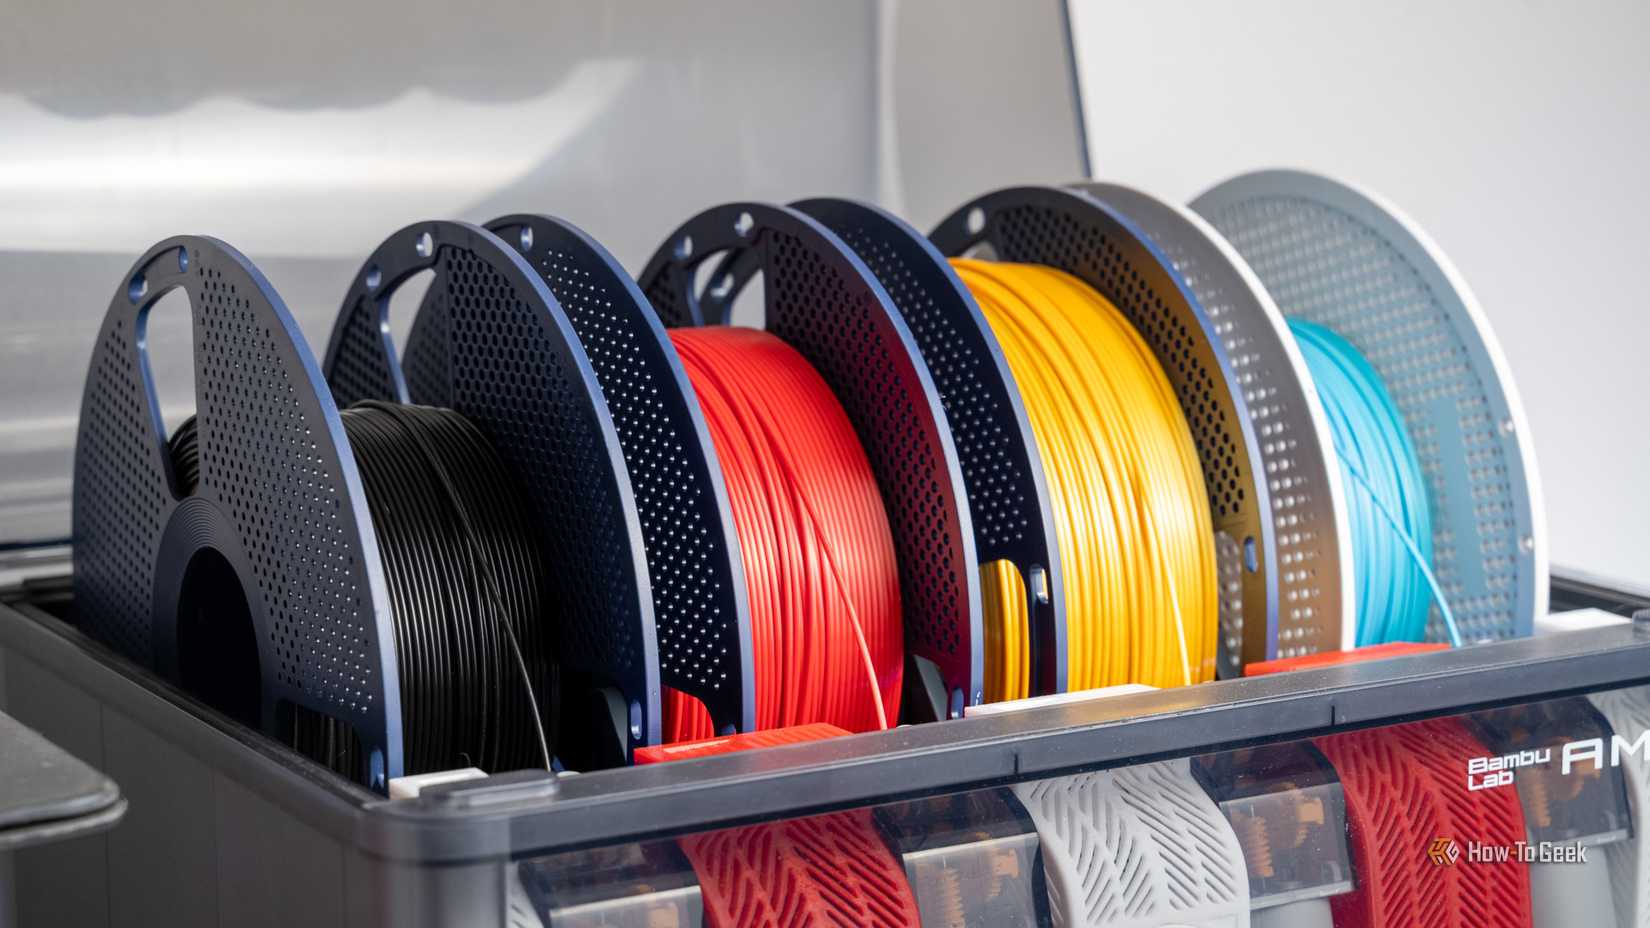
Don’t skip prototyping. It might not feel entirely necessary, but it should be. I had a nice roll of multicolored Bambu PLA Basic that I used a ton of to make a holder I don’t even like. I love the way it looks, I just wish it functioned better, and prototyping would have helped me solve that problem.