The topic I ditched Bitwarden’s subscription for this free self-hosted alternative is currently the subject of lively discussion — readers and analysts are keeping a close eye on developments.
This is taking place in a dynamic environment: companies’ decisions and competitors’ reactions can quickly change the picture.
Vaultwarden is a community-built, open-source server for Bitwarden that you can self-host. It can connect to all official Bitwarden apps and extensions, which means you don’t need to replace any of the Bitwarden apps and extensions you’ve already installed. You can just sign into them with your self-hosted instance of Vaultwarden.
A premium Bitwarden subscription gives you the built-in 2FA authenticator feature. Normally, you’d manually copy 2FA codes from an app like Google or Microsoft Authenticator and paste them into the site you’re trying to log into. Bitwarden Premium lets you add those time-based one-time (TOTP) codes alongside login entries. That way, when you autofill your username and password with Bitwarden, it also copies the secret TOTP code to your clipboard. If you find 2FA annoying, this is the most convenient way to set it up.
You’d have to give up your credit card information and pay $10 a year for this feature, but you can get it for free by self-hosting the backend.
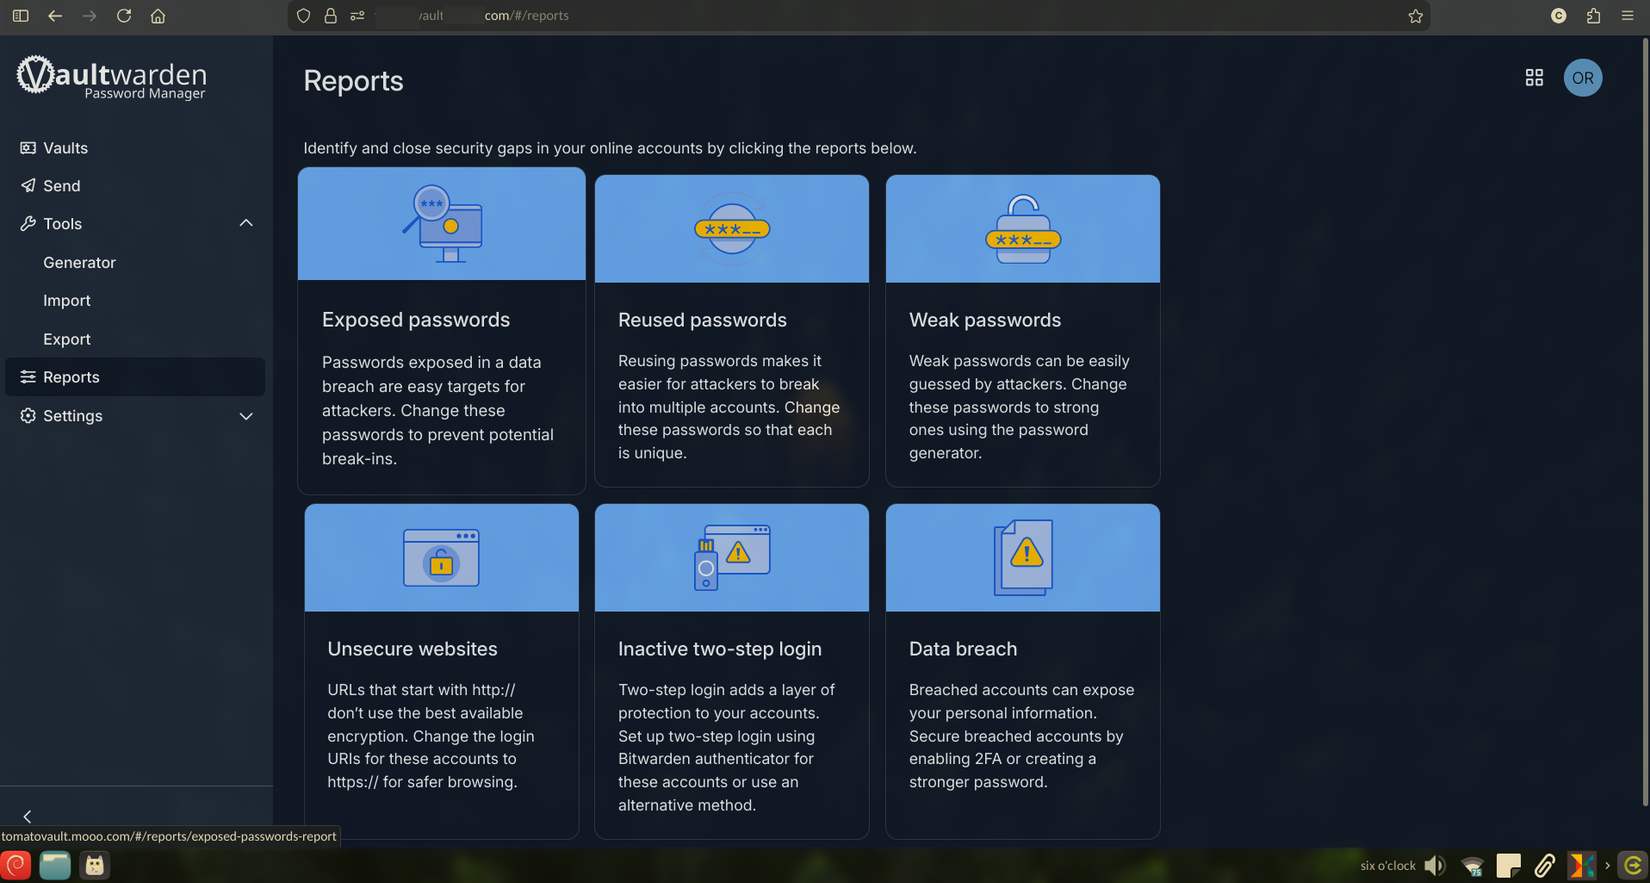
Things like vault health reports, file attachments for Bitwarden Send and vault items, the admin panel (to add and manage multiple users), support for hardware 2FA security keys also require a premium subscription. You can get all those features for free if you self-host. Self-hosting your vaults gives you total control over your data and metadata (when you log into Bitwarden and where). It’s more private.
Admittedly, this project isn’t for everyone. That said, if you enjoy tinkering or already have a homelab set up, a self-hosted Bitwarden vault will make an excellent addition.
Personally, I just like the idea of keeping my data local, as much as possible. It gives me some peace of mind. Plus, I really enjoy self-hosting stuff. I have built a tiny ecosystem consisting of a vault, notes, a time tracker, Spotify for my Kindle, a dashboard (with my work tasks, notifications, finances, bookmarks, and productivity stats) all on the same domain. I can access them anywhere with URLs that look like vault.mydomain.com or dashboard.mydomain.com.
The Bitwarden vaults are encrypted by default, so no one can read the contents inside them without your master password. However, you are responsible for backing up the vaults when self-hosting. You can set up an automatic backup system with a tool like rsync.
Vaultwarden is an open-source Rust-based implementation of the Bitwarden server backend. It’s incredibly popular (some 58k stars on the GitHub repo) and the community actively maintains it. It can run as a Docker container, so it’s easy to both run it and remove it.
In addition to Docker and Vaultwarden, you’ll need a server to host it. You can use your own hardware or get a VPS (some are free).
Pretty much any computer can be turned into a server. If you’re new to this, just use an old laptop if you have one lying around (it doesn’t even need to have a display or a working keyboard because you will be ssh-ing into it anyway.) Install a Linux server OS on it. Ubuntu Server works fine for most people. If you don’t want a headless, command-line interface, you can install something pretty like umbrelOS or casaOS. And if the computer is a potato, you can install something featherweight like DietPi (it’s what I use for my potato server and I have no complaints).
By default, Docker will serve Vaultwarden over a local HTTP address. Bitwarden clients will refuse to connect to plain HTTP connections because they are not safe. You need a secure HTTPS server address to log in with your official Bitwarden apps and extensions. There are two ways you can do this:
You will need to install Tailscale on the server, as well as the devices on which you want to use Bitwarden. To install it on your server, run this command.
You should see a link that takes you to the Tailscale website where you can sign up for a new account and get a magic DNS address. This address is where you’ll be able to access your Vaultwarden instance. Copy it or take note of it because we’ll need it in the next step.
Make sure MagicDNS and HTTPS Certificates are enabled on the Tailscale admin console.
Start by installing Docker on your server, if it’s not already set up. Then we create a new directory to keep Vaultwarden and a new Docker compose file.
Use nano or any other text editor of your choice to create the Docker compose file.
Paste this inside the Docker compose file. Replace the “DOMAIN” line with the domain Caddy or Tailscale is configured to use.
You can set SIGNUPS_ALLOWED to “false” once you’ve set up a Vaultwarden account.
Press Ctrl+O, then Enter to save and Ctrl+X to exit nano. Run this command to spin up the container.
You can verify that it’s running on port 8080 with this command.
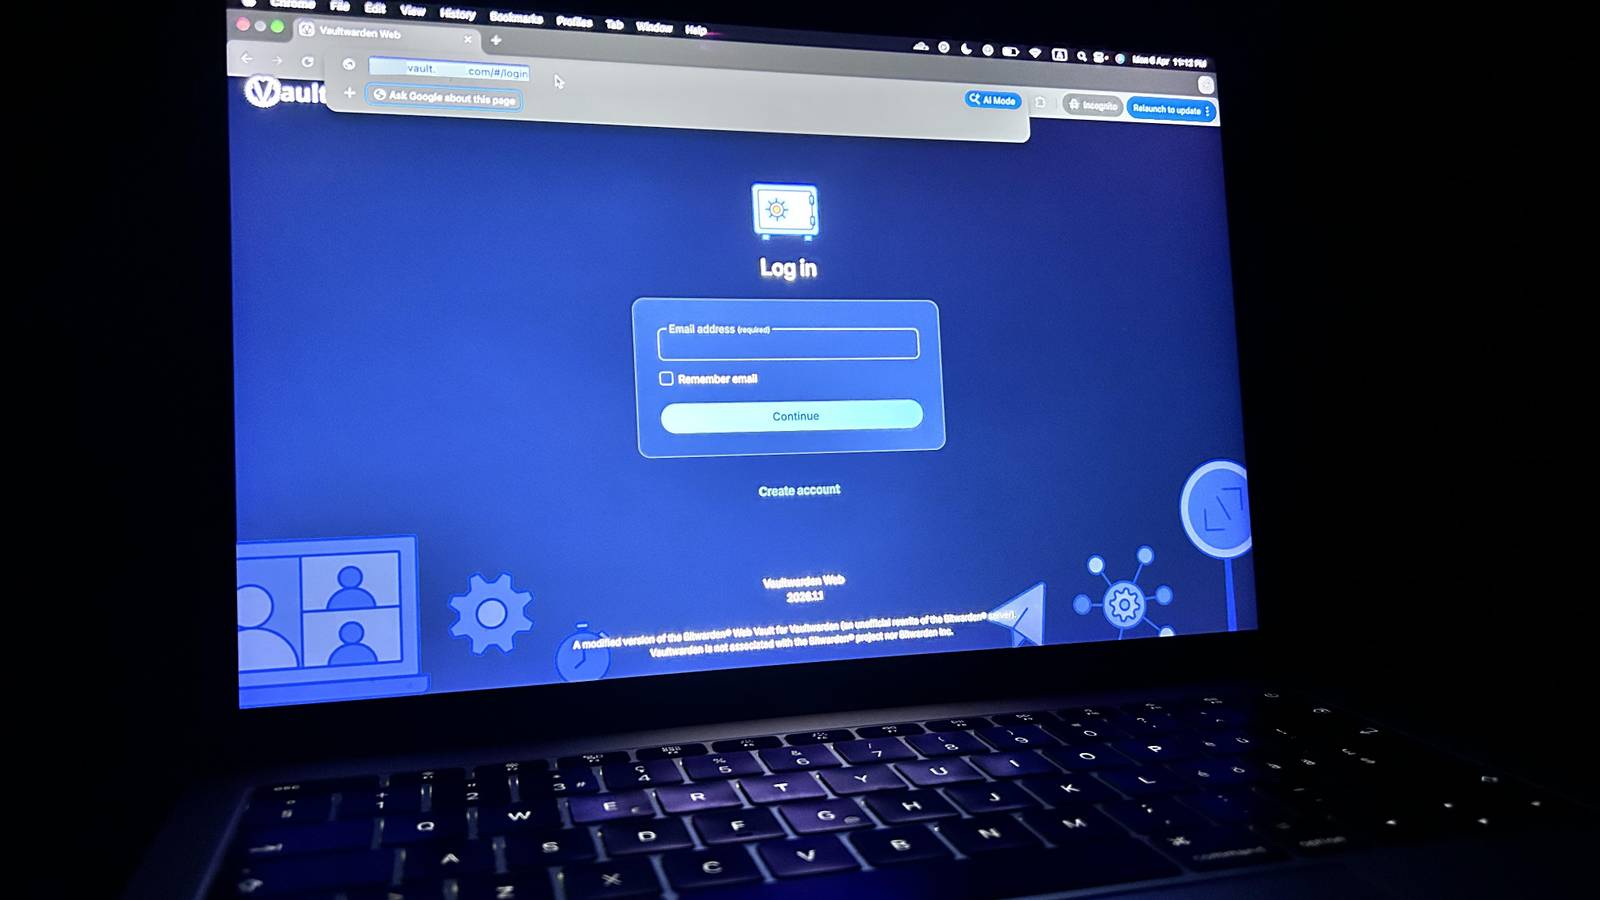
Official Bitwarden clients and extensions are compatible with Vaultwarden
Since we can only access Vaultwarden through the secure Tailscale address, we need to enable Tailscale on our devices as well. You can install the mobile app on your phone and the desktop clients on PC. On Windows and macOS, you can download the dedicated installers from the Tailscale website. On Linux machines, you can install it with the same command and run it in the background.
Login with the same account you already used and connect to the same Tailscale network. Once you’re connected to Tailscale, you can access the new Vaultwarden server.
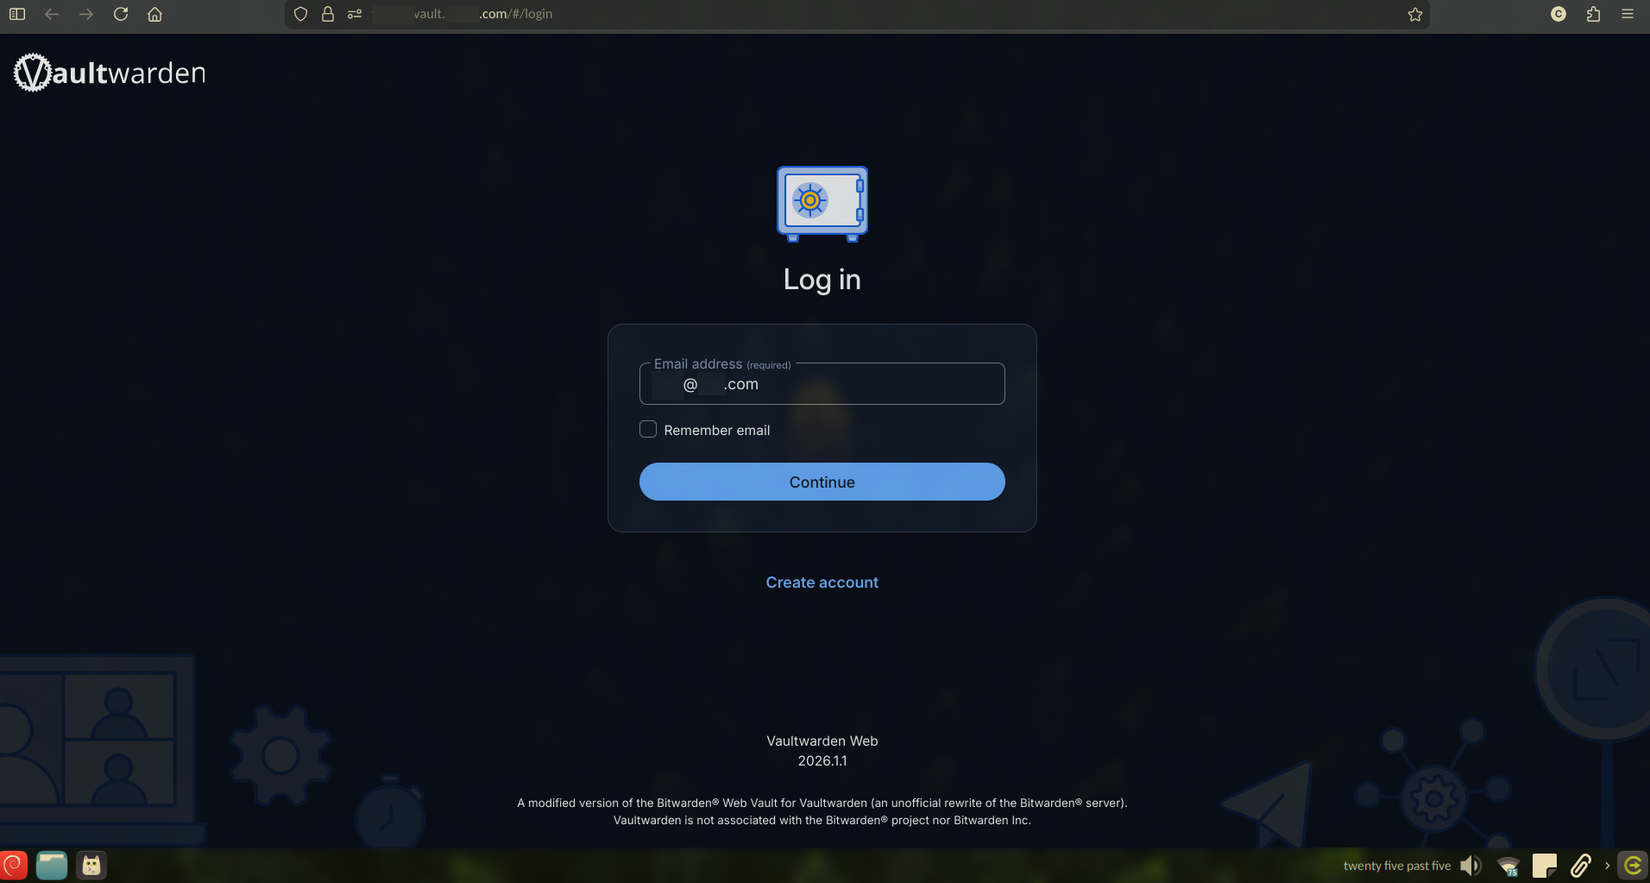
Try opening the magicDNS address that Tailscale assigned you in your browser. It’ll probably be something random like this.
If the Vaultwarden web portal opens, congratulations, your server is active and accessible over HTTPS. Create a new account for yourself. You can use any random, made-up email here, by the way. Set your master password here.
If it returns an error, make sure you are, in fact, connected to Tailscale and the Docker container is running.
Now let’s connect our Bitwarden apps and extensions to our personal Vaultwarden server instead of the official Bitwarden servers. You’ll see an “Accessing” button at the bottom of the login page where it lets you pick between Bitwarden’s servers or self-hosted servers. Select “Self-hosted.”
Selecting “self-hosted” should open this settings page. You just need to enter the Tailscale HTTPS address in the Server URL section. It’s the same Tailnet URL you used to log into the Vaultwarden web portal. Then hit “Save.” The login email and master password are the same ones you already set on the Vaultwarden portal.
You don’t need to be constantly connected to the Tailscale network in order to access your vaults because the apps and extensions keep a local cache of your encrypted vault. However, it won’t sync unless you are connected to your private Tailscale network via the Tailscale app.
You now have a self-hosted version of Bitwarden that gives you free access to all the premium Bitwarden features. Plus, your sensitive vault data never leaves your private network.