The topic How to Make a Classic Spiral Tie Dye Shirt (Kids Tutorial) is currently the subject of lively discussion — readers and analysts are keeping a close eye on developments.
This is taking place in a dynamic environment: companies’ decisions and competitors’ reactions can quickly change the picture.
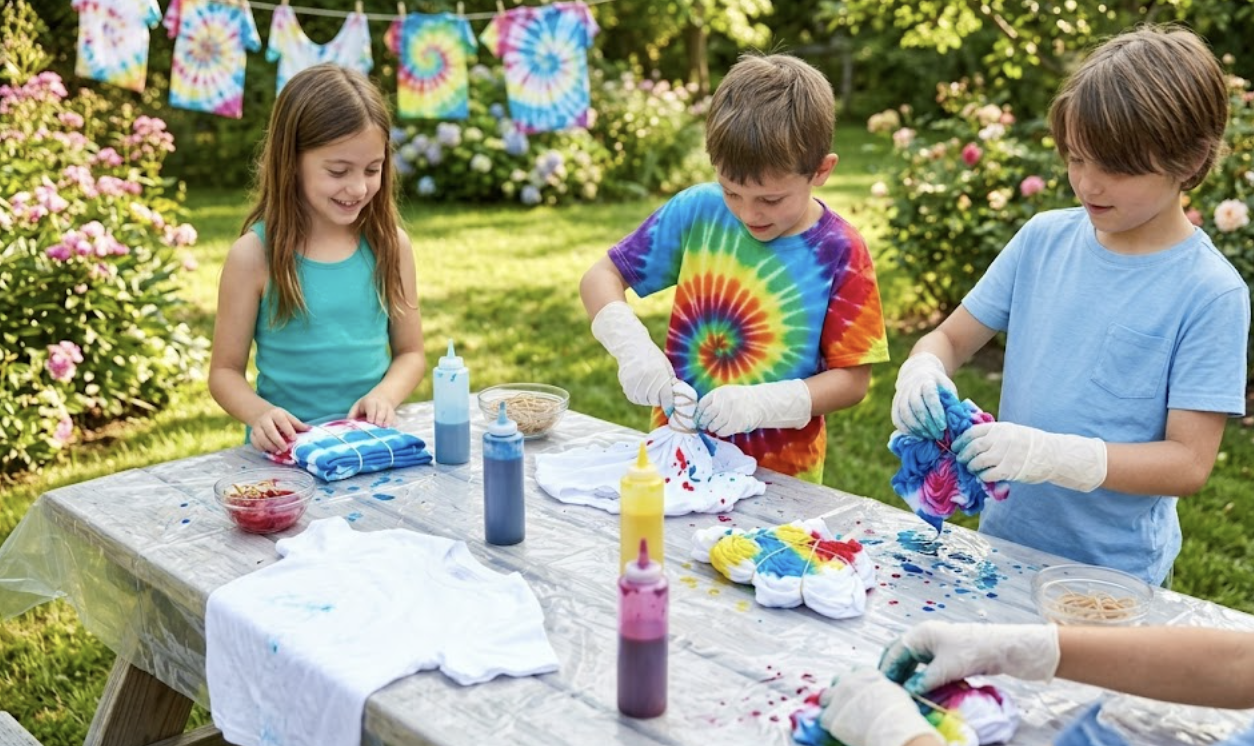
Hey there, DIY fans! Summer is finally here, which means it is time to get outside, soak up the sun, and dive into some awesome backyard crafts. If you are looking for the absolute best way to kick summer boredom to the curb, nothing beats making your very own custom tie dye shirt.
It is loud, it is colorful, and it is a total blast to make with friends or family. In this tie dye shirt kids tutorial, we are going to show you exactly how to get that iconic, mesmerizing rainbow spiral pattern. Grab your supplies, head to the backyard, and let’s get twisting!
RELATED: Kids Painting Ideas Tutorials: 5 Easy Projects Little Ones Will Love
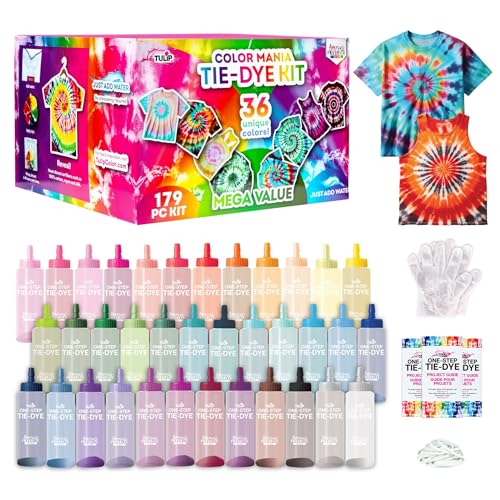
Before we start spinning our shirts, we need to gather our gear. Safety and clean-up are part of the project, so make sure you have everything ready before you start!
Most kid-friendly tie-dye kits come with the dry dye powder already sitting inside the squeeze bottles. Before starting your project, prepare the bottles using these simple steps:
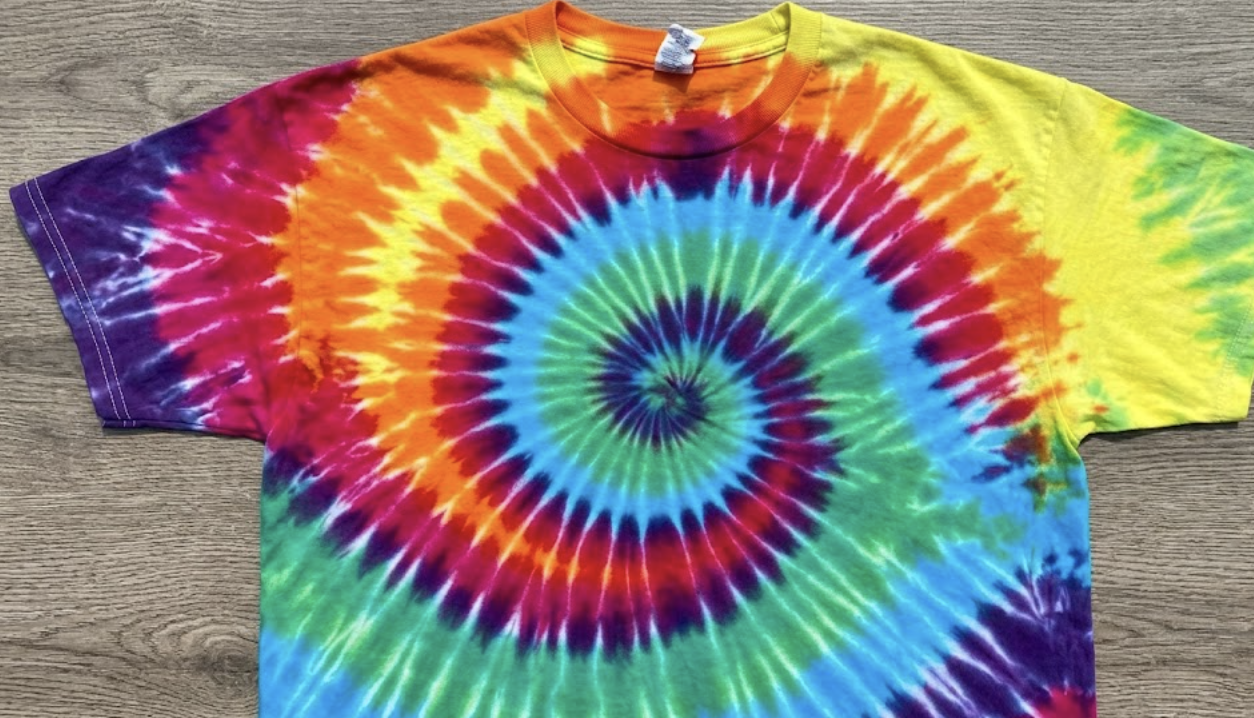
Ready to recreate the awesome look from? Follow these simple steps to twist and squeeze your shirt into a masterpiece.
Start with a clean, damp t-shirt. Wetting the fabric first helps the non-toxic dye flow smoothly into the fibers. Lay the shirt completely flat on your covered work surface.
Find the exact center of your shirt—usually right in the middle of the chest. Pinch that spot with your thumb and index finger. Now, start twisting the shirt clockwise. Keep twisting tightly until the entire shirt forms a round, flat disk that looks like a fabric cinnamon roll!
Slide your rubber bands across the fabric disk. Crisscross them so they cut across the circle like slices of a pizza. Use 3 or 4 rubber bands to create 6 to 8 wedge shapes. This holds your spiral tight and separates your color zones.
Before you start squeezing, place an old wire baking rack over your plastic tablecloth and put your bundled shirt right on top of it. This keeps the bottom of the shirt from sitting in a puddle of mixed colors, preventing your beautiful rainbow from turning into a muddy brown!
Place your dyed shirt inside a plastic Ziploc bag and seal it up tight. Let it sit for at least 6 to 8 hours (overnight is even better!) so the colors bond firmly to the cotton. Afterward, an adult can help rinse the shirt in cold water until the water runs clear, then pop it in the washing machine by itself for its first wash.
Once your shirt is washed and dried, you’ll have a wearable piece of art perfect for the summer season. Tie dying is all about embracing unique patterns, so don’t worry if yours looks a little different, because that’s what makes it yours! Wear it with pride all season long.
Always look for water-based, non-toxic fabric dyes labeled as safe for children. Standard acrylic paints are too stiff and won’t dye the fabric correctly, so stick to kid-friendly tie-dye powder kits.
Fading usually happens if the shirt isn’t 100% cotton, or if the dye wasn’t left to sit long enough in the plastic bag. Make sure to let the shirt rest for at least 6-8 hours before rinsing!
You can, but it is highly recommended to do tie-dye outdoors! If you must stay inside, cover your entire workspace in heavy plastic or garbage bags to prevent accidental stains on countertops or floors.