The topic How to Build a Craft Room Pegboard for Your Art Supplies is currently the subject of lively discussion — readers and analysts are keeping a close eye on developments.
This is taking place in a dynamic environment: companies’ decisions and competitors’ reactions can quickly change the picture.
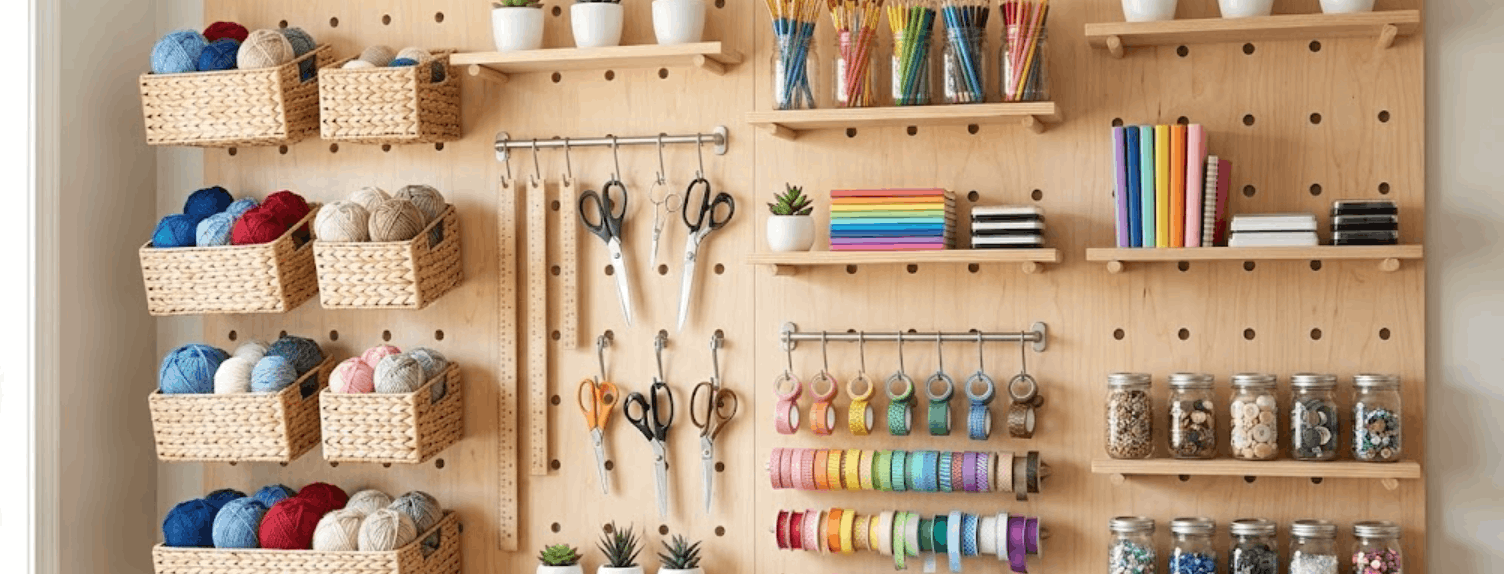
If you’re tired of battling a messy craft room where your art supplies are constantly taking over your desk, it’s time to look up and take advantage of your empty vertical space. Here’s how to build and mount a custom pegboard system that’ll help organize the clutter for good.
Before running to the hardware store, sort the supplies you want to hang into three piles:
Seeing your piles will tell you exactly what size pegboard you actually need to buy.
You don’t need fancy saws for this. Big box stores like Lowe’s or Home Depot will usually cut the pegboard to your exact dimensions for free.
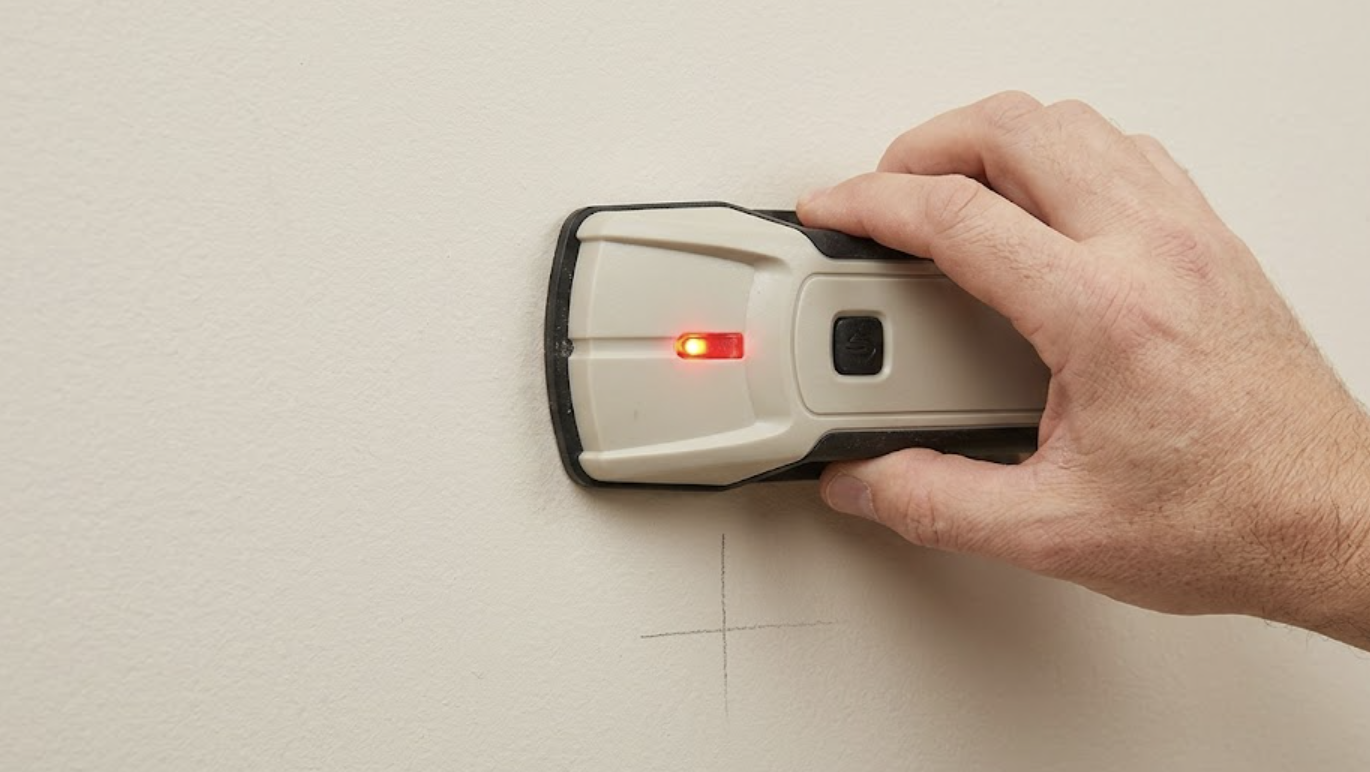
If your pegboard is larger than 24” x 24”, it must hit at least one wall stud. Studs are usually spaced 16″ apart inside the wall. Don’t rely on basic drywall anchors as they usually cannot hold the weight of a loaded board and could rip a chunk out of your wall. If you’re unsure where your studs are, I highly recommend using a multi-scanner first. You don’t need a pricey, top-of-the-line model. You can go for a basic, reliable electronic stud finder or a simple magnetic tool to locate hidden electrical wiring and prevent your drywall from becoming Swiss cheese. This is my go-to wall scanner:
As an Amazon Associate, we may earn from qualifying purchases.
RELATED: The Best Stud Finders for Hanging Heavy Wall Projects (2026 Guide)
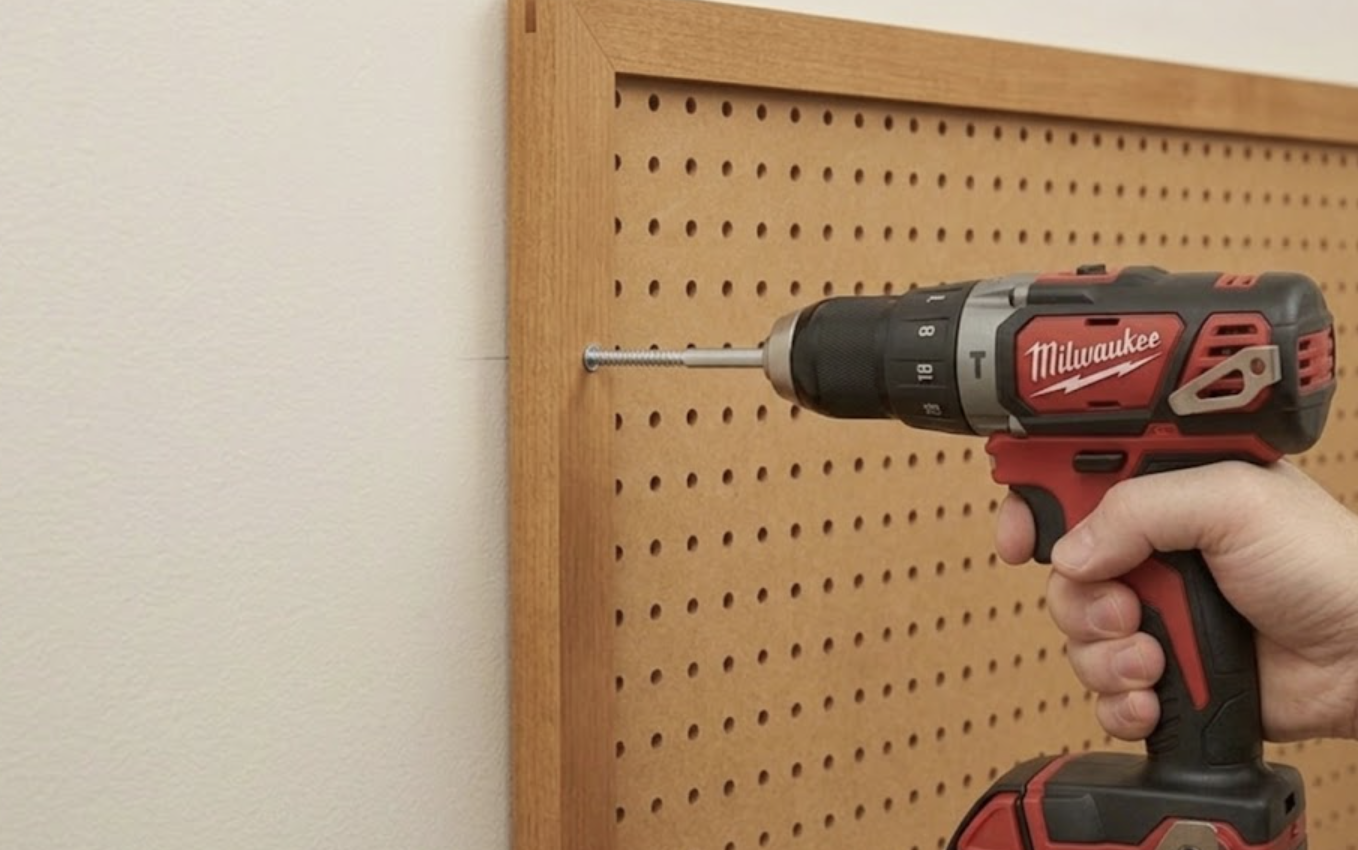
Secure the framed board into the wall studs before you put a single hook or basket on it. Driving thick screws through your wood frame and into the wall requires a solid amount of torque, so you’ll definitely want a reliable power drill for this step like the Milwaukee drill shown in the photo.
(Speaking of power tools, we’re currently giving away a $1,000 Milwaukee Tool Prize Package! No purchase necessary to enter or win. Here’s the link.)
Don’t buy 60 different accessories and try to fill the entire board on day one. Start with a basic variety pack of hooks and hang only your everyday items first. Use the setup for a week, and then rearrange it based on what you actually reach for. Once you know your workflow, you can confidently add the specialty bins and baskets.
Add a dowel rod resting on two L-hooks to hold washi tape, ribbon, or thread in a color row at eye level. It costs under $5 but makes the board look professional.
If you’re short on time but still want the satisfaction of a DIY room upgrade, an all-in-one package like the FZK Pegboard Kit from Amazon is a perfect shortcut. It comes with four mount-ready panels and all the accessories, which gives you an instant organizational win without breaking out the power tools.
You still get to roll up your sleeves and install it yourself, but you get to skip the prep work and jump straight to the fun of customizing your layout!
Let’s build something together! Join the community on YouTube, Instagram, Pinterest, and Facebook.
It’s highly recommended that you don’t rely solely on drywall anchors. Drywall anchors alone won’t hold a loaded board long-term. When they inevitably fail under the weight of your supplies, they’ll take a chunk of your drywall down with them. Any board larger than 24″ x 24″ must be anchored into at least one wall stud for proper support.
Yes, absolutely! One of the biggest mistakes you can make is mounting the board totally flat against the wall. No hook will fit behind a board with zero gap. You need at least 1/2″ of space between the wall and the back of the board. You can easily create this necessary gap by gluing and screwing 1×2 furring strips around the back edge of your pegboard.
You can absolutely paint your pegboard to match your room, but the secret is to use very thin coats. If you apply the paint too thickly, it’ll clog the holes and block your hooks from seating properly. Just take your time with light layers, and don’t forget to paint the frame too if you added one!