The topic DIY Home Improvement Tips for Beginners is currently the subject of lively discussion — readers and analysts are keeping a close eye on developments.
This is taking place in a dynamic environment: companies’ decisions and competitors’ reactions can quickly change the picture.
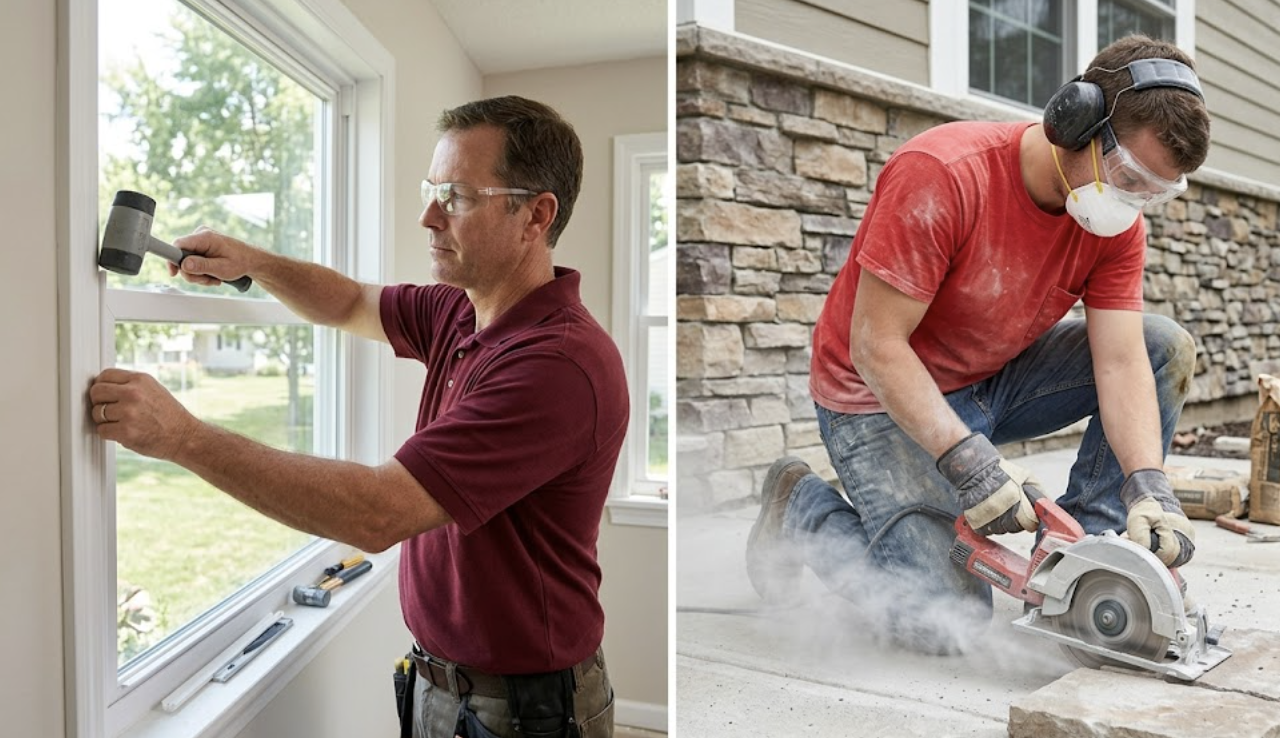
Most American homeowners tackle home improvement themselves.
A recent survey of 1,000 U.S. DIYers found that 35% had to hire a professional to complete or correct their own work. Another 46% said social media made DIY look easier than it really is. And 22% got into a fight with their partner over a budget that blew past what they planned.
However, DIY home improvement isn’t all-or-nothing. Most American homeowners land somewhere in the middle. They do what they can, they hand off what they can’t, and the ones who do it well know the difference before they ever pick up a tool.
That’s what this guide is for. We’lll direct you to the right starting point, the right supplies, the real costs, and the honest answer on when it’s smarter to call a pro.
Two things kill first-time DIY projects before they ever get going. The first is picking a project that’s two levels above your skill and starting a surface project without checking what’s underneath it first.
Both of those mistakes don’t appear in the planning stage. They tend to surface later when you’re pulling up tile and realizing the subfloor is shot, or when a weekend paint job turns into a month of after-dinner touch-ups because the walls weren’t properly prepped.
Before you buy a single gallon of paint or a box of tile, get your hands on the surface you’re working with. Push on it. Look at it in direct light. Check the corners. If it’s a wall, find the studs. If it’s a floor, check for soft spots. If it’s a ceiling, look for staining.
Eighty percent of DIY project failures trace back to something that was already wrong underneath the surface. You didn’t create the problem. You just didn’t find it first.
These are high-visibility wins with low structural risk. They build the habits you’ll need before you move up.
Here’s a simple five-step process that works for almost any beginner home project.
Step 1: Inspect the space before you design anything. Look at what you’re actually working with. Check the surface, the substrate, and anything nearby that could be affected. Don’t skip this step.
Step 2: Match the project to a realistic time window. If you’ve got a weekend, scope a weekend project. A full day means a full day’s build. Never start a project without knowing what done looks like and when you expect to get there.
Step 3: Write the materials list and cut list before you go to the store. Walking into a hardware store without a list is how you come home with the wrong stuff and make two more trips. Write it down first. For accurate cut measurements, check out our free cut list optimizer.
Step 4: Run a test section before you commit. Paint a swatch, lay one tile dry, and cut one board. See how it looks and fits before you go all in.
Step 5: Set your stopping point before you start. Project creep is real. Define what done means before you pick up anything. “I’ll finish when it looks good” isn’t a stopping point.
Most beginner projects only need less than ten tools. Here’s how to build your kit by budget.
Tier 1: Starter Kit (Under $150) This covers painting, hardware swaps, basic repairs, and shelf installs.
Hammer · Tape measure · Utility knife · Drill/driver · 4-foot level · Safety glasses · Work gloves · Stud finder
Tier 2: Weekend Warrior ($150–$400) This adds cutting and surface work to your range.
Everything in Tier 1, plus: Circular saw · Random orbital sander · Caulk gun · Pry bar · Paint roller kit · Drop cloths
Tier 3: Serious DIYer ($400+) This is the kit for tile, decking, built-ins, and finish carpentry.
Everything in Tier 2, plus: Jigsaw · Miter saw · Moisture meter · Laser level · Shop vac · Clamp set
One rule on tools: don’t buy what you don’t have a project for yet. Buy for the job in front of you. You’ll know when you need the next thing.
It depends on what you’re building. Here’s a realistic range broken out by project type.
Tier 1: Cosmetic Projects — $50 to $300 Paint, hardware swaps, caulk, patch and repair work. Low cost, high visual payoff. Good first projects.
Tier 2: Weekend Builds — $300 to $1,500 Floating shelves, backsplash tile, LVP flooring, basic deck furniture. Material costs climb here. Build time is typically one to two weekends.
Tier 3: Structural and system Projects — $1,500 to $5,000+ Decks, tile bathrooms, drywall, framing, built-ins. These are multi-weekend commitments with real material costs and higher consequences for mistakes.
Always add 15–20% to your budget as a contingency. This is the standard practice on any home project. Homes built before 1950 should run the contingency at 20%.
Mistake 1: Skipping the substrate check. Floors, walls, and ceilings fail at the surface because something underneath was wrong first. Check the subfloor before you lay tile. Check the wall condition before you hang anything heavy. The tutorial you watched probably skipped this step. Don’t.
Mistake 2: Letting the timeline float. “I aimed for a weekend. It turned into a month of after-dinner touch-ups and late-night cleanup.” That’s a real quote from a real homeowner. It happens when the project scope wasn’t defined before work started. Set a deadline and build backwards from it.
Mistake 3: Buying tools before scoping the project. The tool comes after the project plan. Figure out what you’re building, write the cut list, then identify what tools those cuts require.
Mistake 4: Trusting the Instagram version. About 46% of homeowners said platforms like Instagram or Pinterest made DIY look easier than it is. Those photos don’t show the three failed attempts, the subfloor replacement, or the pro they called in to fix the tile work. Use social media for inspiration. But don’t use it as a how-to.
Mistake 5: No defined stopping point. Work tends to pile up after starting a project. They always do. “Is that the right grout? Will this paint dry darker? Should I have just left the old sink alone?” That spiral starts when done was never defined in the first place. Stick with your goal and know when to stop.
This is the question most DIY guides avoid. Here’s the straight answer.
DIY-able: Painting, caulking, hardware swaps, floating shelves, LVP flooring, backsplash tile (on a solid substrate), basic carpentry, furniture assembly, deck furniture, garden beds, basic landscaping.
DIY-able but skill-dependent: Full tile bathrooms, deck builds, drywall repair larger than a few patches, replacing interior doors, installing ceiling fans.
Always hire a licensed professional for the following jobs: Electrical panel work, load-bearing wall changes, plumbing behind walls or under slabs, HVAC installation or repair, foundation work, gas lines. These aren’t judgment calls. They’re code and safety requirements.
The survey said that 35% of DIYers hired a pro to complete or correct work they started themselves. There’s no shame in that. The mistake is starting the job without knowing which category it falls into.
The homeowners who get the most out of DIY know what they can handle, have the right tools ready, and make the call to bring in a pro before a small job turns into a big one.
https://diyprojects.com/directory/Some jobs just need a pro. When you’re ready to hand it off, don’t waste time searching blind. Our Verified Pros directory connects you with licensed, vetted contractors in your area who know how to pick up where you left off. Find someone you can trust before the project needs rescuing.
1. What’s the best DIY home improvement project for a complete beginner? Start with painting a room. It’s low-risk, high-visibility, and it teaches prep work, patience, and clean technique. Those habits carry into every project after it. Grab a quality roller, a good primer, and don’t skip the tape.
2. How much should a beginner budget for DIY home improvement? A starter tool kit runs $100 to $150. Your first few projects (paint, hardware, basic repairs) will run another $50 to $300 in materials. Budget a 15% cushion on top of whatever you estimate. Most first-timers underestimate by at least that much.
3. What tools do I actually need to start DIY home improvement? You need a drill/driver, a tape measure, a hammer, a level, a utility knife, and safety glasses. That’s the core kit. Don’t buy more until a specific project requires it.
4. How do I know if a home improvement project is too advanced for me? Ask yourself two questions: Have I done anything similar before? And what happens if I do it wrong? If the answer to the second question involves water, electricity, or a structural wall, stop and consult a licensed professional before you start.
5. What’s the one thing most beginner DIYers skip that causes the most problems? The inspection step. Most DIY failures start with something that was already wrong before the project began. Soft spots in the floor, water damage behind a wall, a subfloor that can’t support tile. Check the surface and what’s underneath it before you buy anything or pick up a tool.